
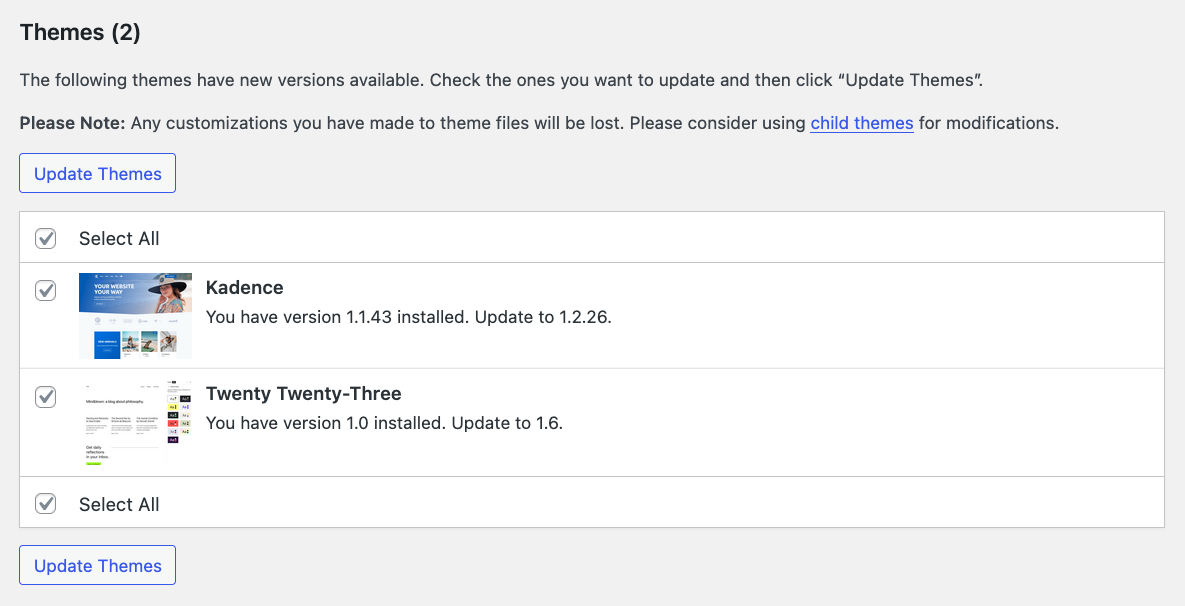
Customizing a WordPress website looks simple—until a theme update wipes out all your changes.
If you directly edit theme files, you risk:
❌ Losing customizations after updates
❌ Breaking layouts or functionality
❌ Creating long-term maintenance issues
That’s why professional developers always use Child Themes.
In this complete guide, you’ll learn:
✔ What a child theme is
✔ Why it’s essential
✔ How to create it step-by-step
✔ How to override templates safely
✔ How to customize WooCommerce using child themes
✔ Best practices for real-world projects
🔴 Why Child Themes Are Important

If you edit a parent theme directly:
-
Updates will overwrite your changes
-
Debugging becomes difficult
-
Client sites become unstable
👉 Child themes solve all these problems.
✔ Safe updates
✔ Clean code structure
✔ Easy maintenance
✔ Professional workflow
🧠 What Is a WordPress Child Theme?
A Child Theme is a theme that inherits functionality and styling from a parent theme.
Instead of modifying the main theme, you create a separate child theme and add your custom code there.
🔹 Parent Theme
Main theme (Example: Astra, GeneratePress)
🔹 Child Theme
Custom layer that overrides parent behavior
👉 WordPress loads parent theme first, then child theme overrides.
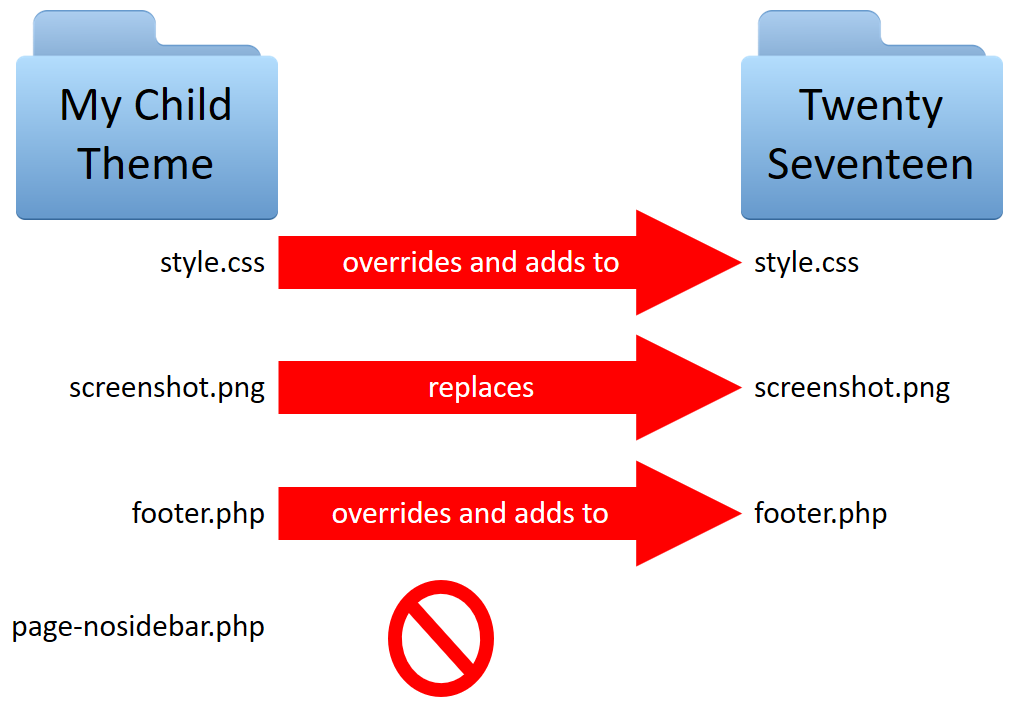
⚙️ How Child Themes Work (Behind the Scenes)


Execution flow:
1️⃣ Parent theme loads
2️⃣ Child theme loads
3️⃣ Child overrides parent files
4️⃣ Final output is rendered
If a file exists in child theme → WordPress uses it
If not → parent theme file is used
👉 This makes customization safe and flexible.
📦 When Should You Use a Child Theme?
Use a child theme when:
✔ Adding custom PHP functions
✔ Editing theme templates
✔ Customizing WooCommerce pages
✔ Building client projects
✔ Making long-term changes
🚫 Avoid child theme only if:
-
You’re adding minor CSS (use Customizer instead)
1️⃣ Create Child Theme Folder
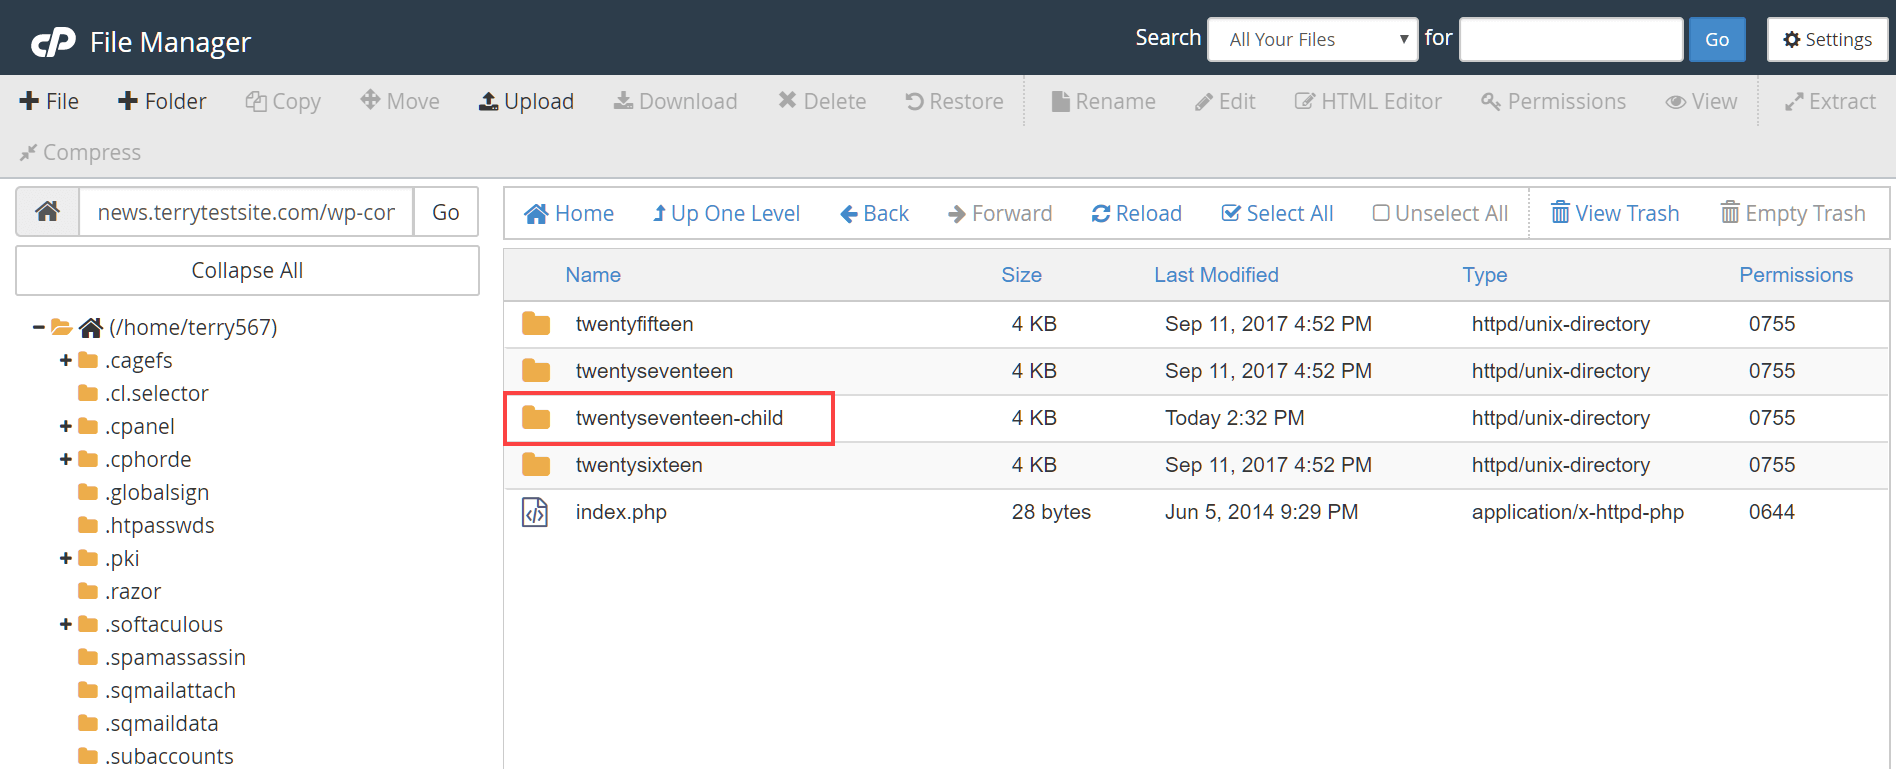
Go to:
Create a new folder:
Example:
2️⃣ Create style.css File


Inside child theme folder, create:
Add:
Theme Name: Astra Child
Template: astra
Version: 1.0
*/
⚠ Important:
Template: must match parent theme folder name exactly.
3️⃣ Create functions.php File
Create:
Add:
function child_theme_enqueue_styles() {
wp_enqueue_style(‘parent-style’, get_template_directory_uri() . ‘/style.css’);
}
add_action(‘wp_enqueue_scripts’, ‘child_theme_enqueue_styles’);
👉 This loads parent styles properly.
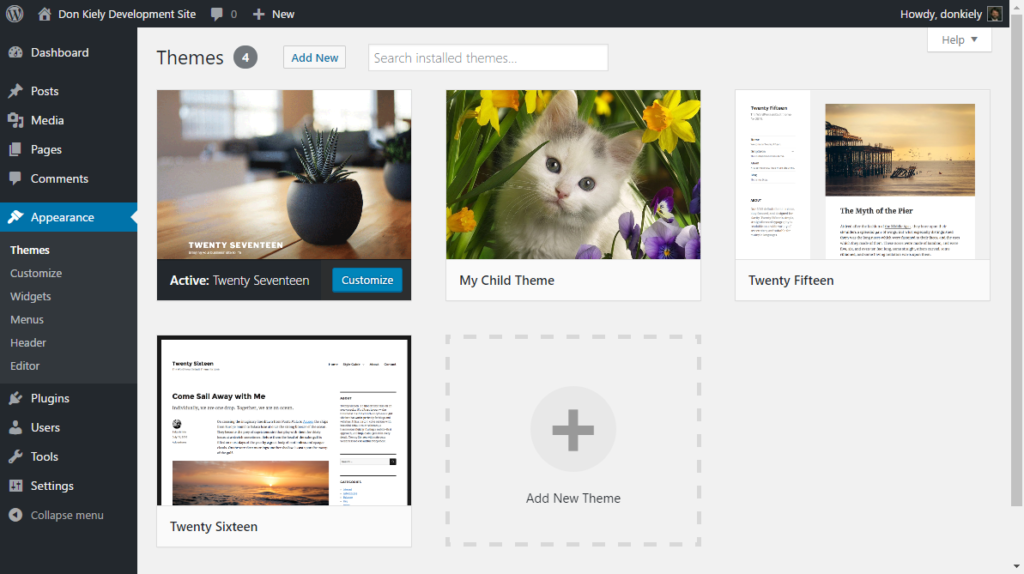
4️⃣ Activate Child Theme

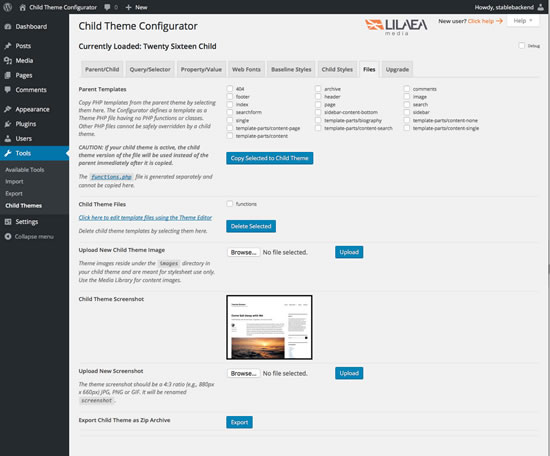
Go to:
Dashboard → Appearance → Themes
Activate your child theme.
👉 Site will look same, but now it’s safe for customization.
5️⃣ Add Custom CSS Safely


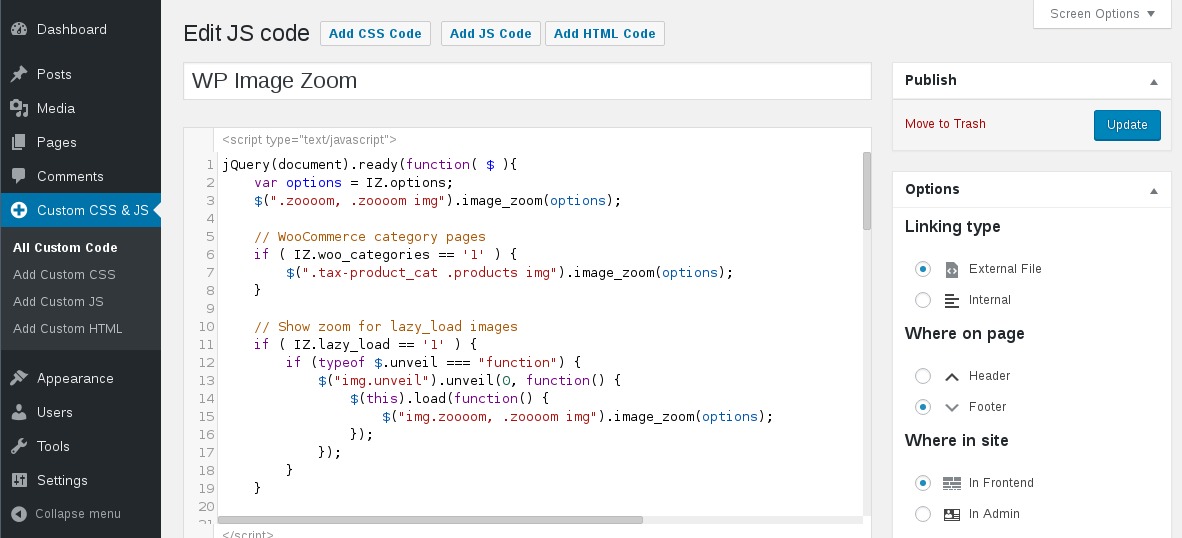
Add CSS inside:
Example:
color: red;
}
👉 This overrides parent styles safely.
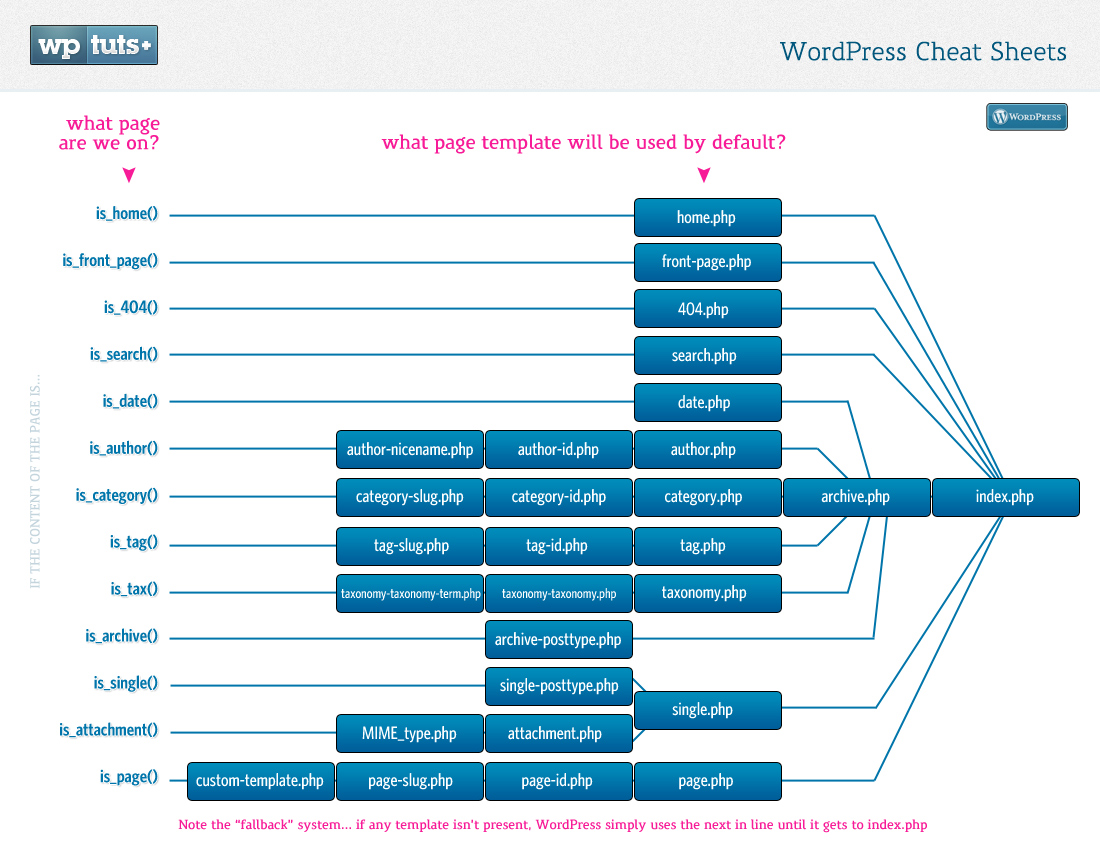
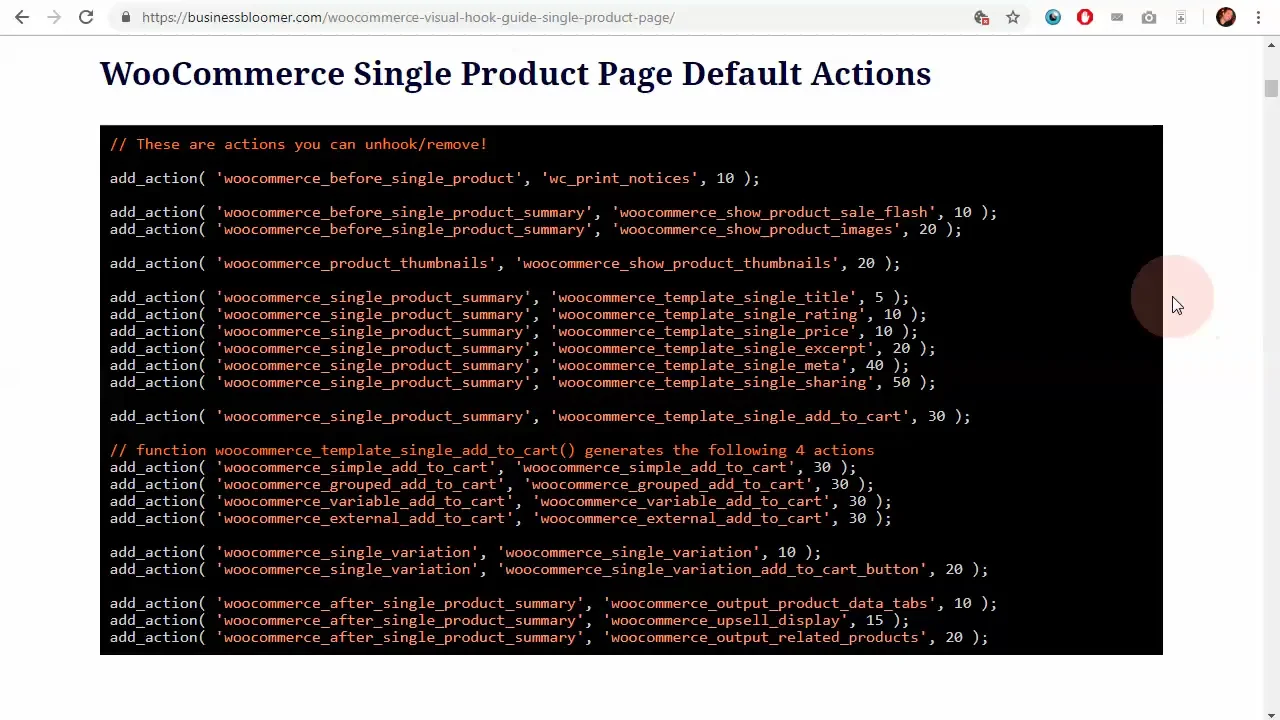
6️⃣ Override Theme Template Files


To customize templates:
Copy from parent theme:
Paste into child theme:
Now edit child file only.
👉 WordPress automatically prioritizes child theme file.
7️⃣ Customize WooCommerce Using Child Theme


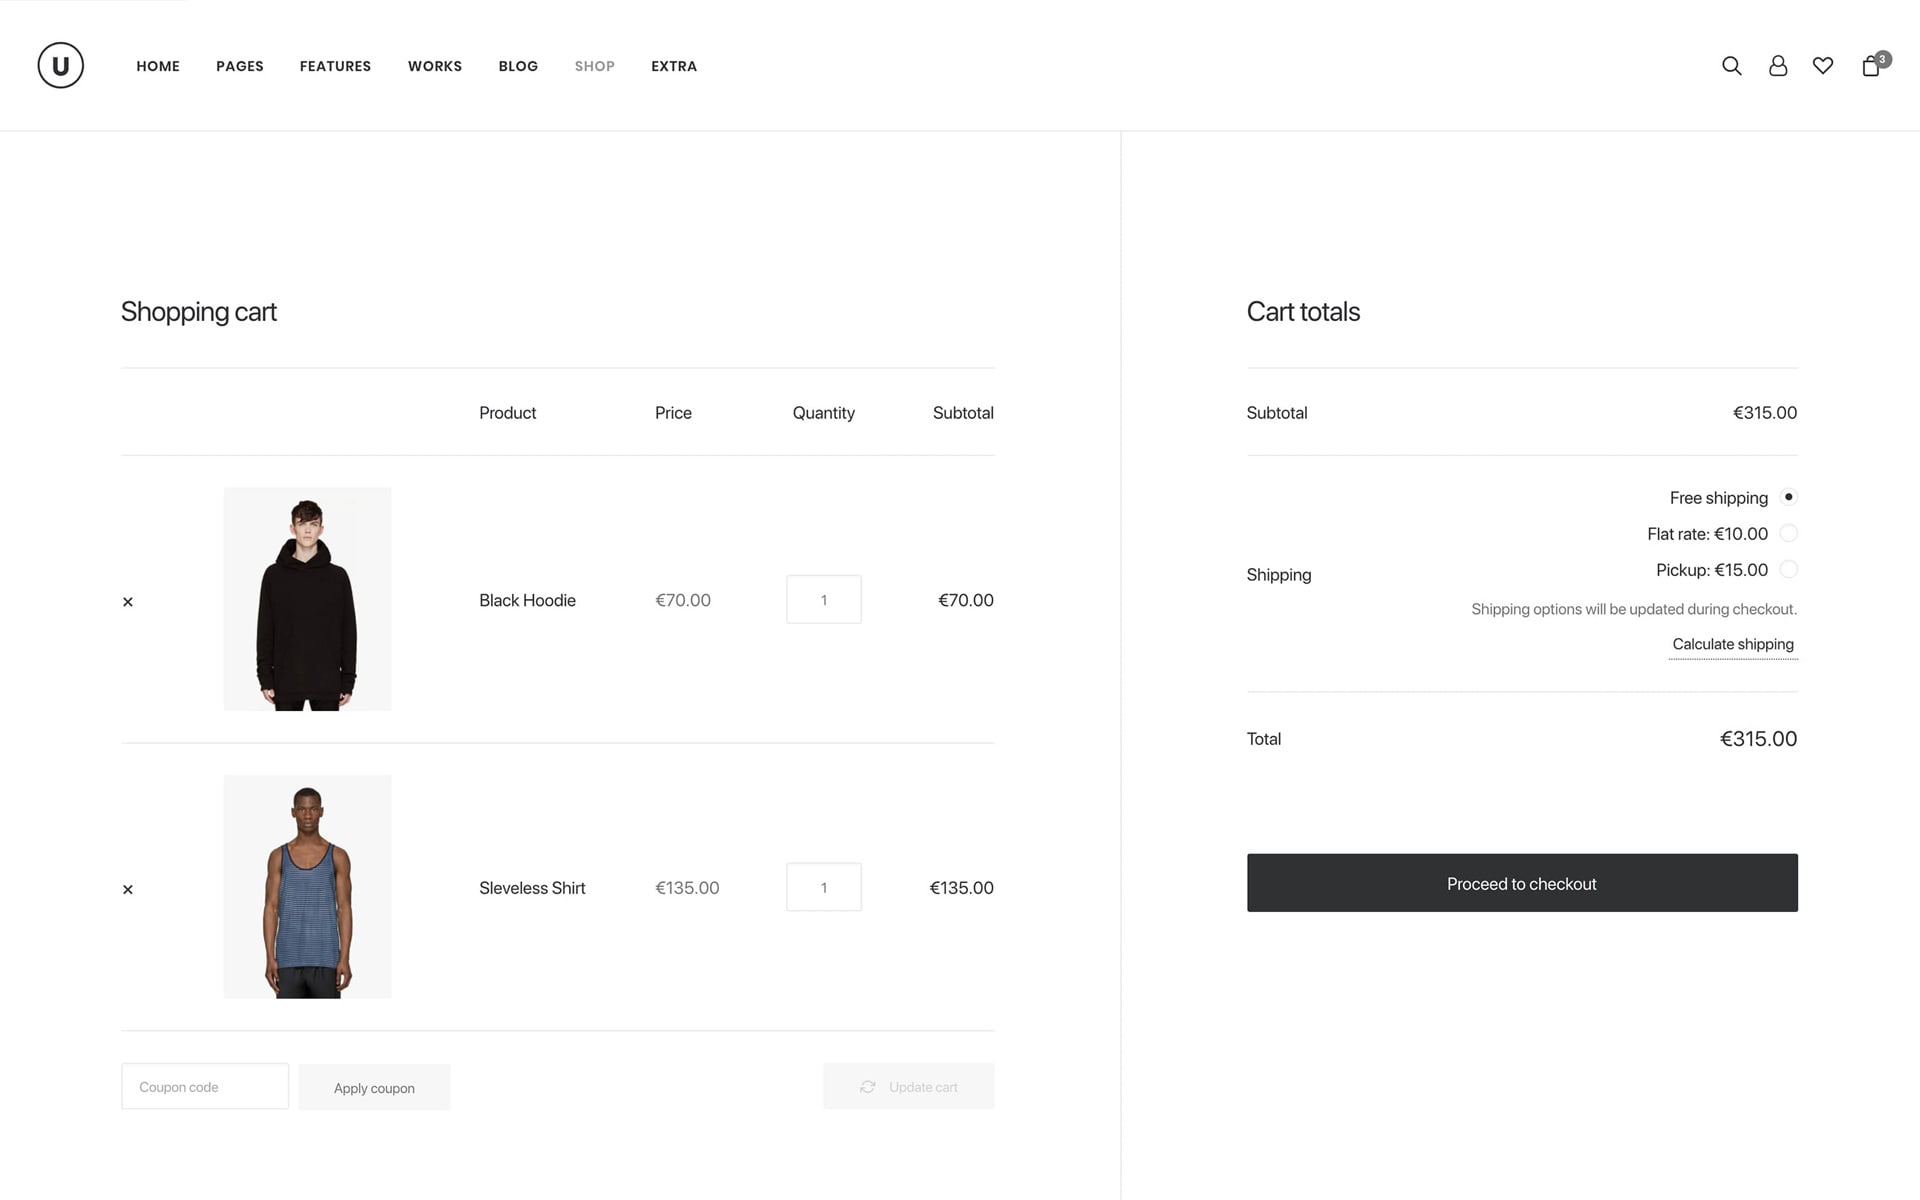
To override WooCommerce templates:
Copy from:
Paste into:
Example:
👉 Use this for:
✔ Custom product layout
✔ Checkout changes
✔ Shipping logic
✔ Marketplace customization
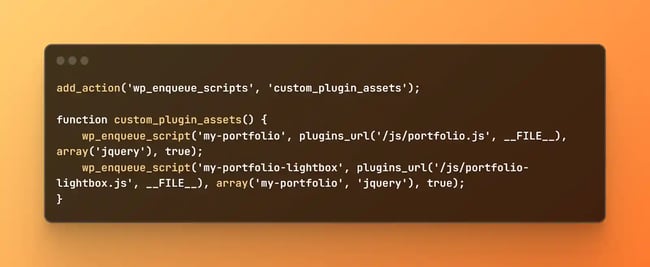
8️⃣ Add Custom PHP Functions

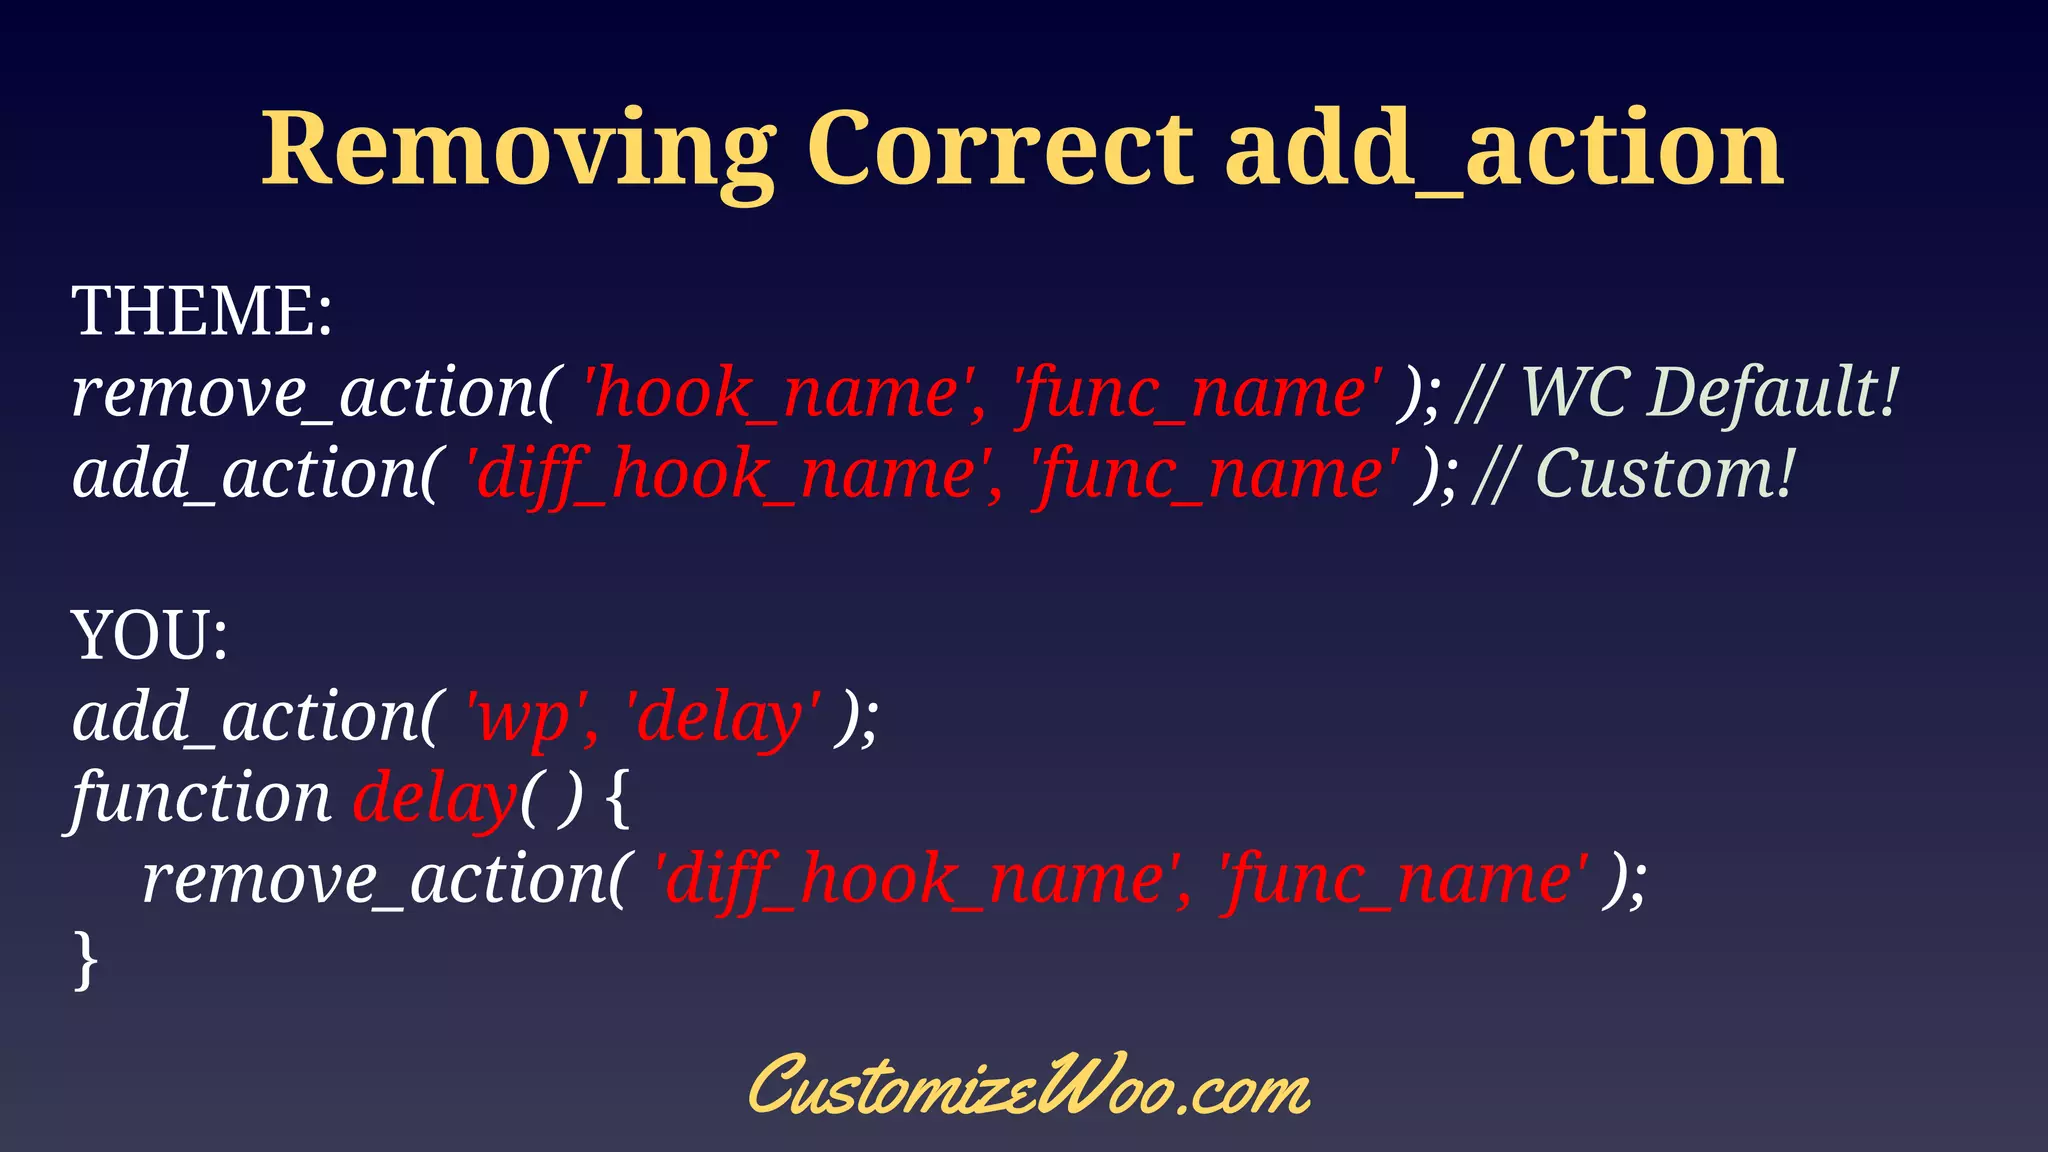
Example:
Remove product meta:
Add custom text:
function custom_text() {
echo ‘<p>Free shipping above ₹999</p>‘;
}
👉 Child theme is safest place for this.
⚡ Child Theme vs Custom Plugin
| Use Child Theme | Use Plugin |
|---|---|
| Design changes | Reusable features |
| Template overrides | Business logic |
| Layout customization | Global functionality |
👉 Professional developers use both together.
🚨 Common Mistakes to Avoid
❌ Wrong template name
❌ Not loading parent CSS
❌ Editing parent theme accidentally
❌ Overriding unnecessary files
❌ Mixing plugin logic inside theme
👉 Clean structure = scalable project
📊 Best Practices for Professional Development
✔ Keep child theme lightweight
✔ Use hooks instead of direct edits
✔ Avoid unnecessary overrides
✔ Document your changes
✔ Backup before updates
📚 Also Read (Internal Links)

Hire Me on Upwork – Dokan & WooCommerce Expert
