

As your website grows, managing tasks manually inside the admin panel becomes inefficient. Whether you’re handling orders, content approvals, vendor onboarding, or support requests, you need structured workflows.
With WordPress, you can build custom admin workflows to automate processes, reduce manual work, and improve efficiency.
In this guide, you’ll learn how to create custom admin workflows in WordPress step-by-step.
🔴 What is an Admin Workflow?
An admin workflow is a step-by-step process that defines how tasks move inside your system.
Examples:
✔ Order approval workflow
✔ Vendor verification process
✔ Content publishing approval
✔ Support ticket handling
👉 Workflow = structured automation of tasks
🧠 Why Custom Workflows Matter
Without workflows:
❌ Manual errors
❌ Slow operations
❌ Poor coordination
❌ Missed tasks
With workflows:
✔ Automation
✔ Faster processing
✔ Better tracking
✔ Improved productivity
👉 Workflows improve system efficiency
⚙️ Common Use Cases
You can build workflows for:
🛒 eCommerce
- Order approval
- Refund processing
🏪 Marketplaces
- Vendor approval
- Dispute management
📝 Content Sites
- Draft → Review → Publish
📩 Support Systems
- Ticket assignment
- Resolution tracking
👉 Almost every process can be automated.
🏗️ Step 1: Define Your Workflow
Before development, define:
✔ Steps involved
✔ Conditions
✔ Roles responsible
✔ Final outcome
Example:
- User submits request
- Admin reviews
- Approves or rejects
👉 Clear planning is essential.
👤 Step 2: Use Roles & Permissions
WordPress supports user roles.
Default roles:
✔ Admin
✔ Editor
✔ Author
✔ Subscriber
You can create custom roles like:
✔ Manager
✔ Reviewer
✔ Vendor
👉 Assign responsibilities based on roles.
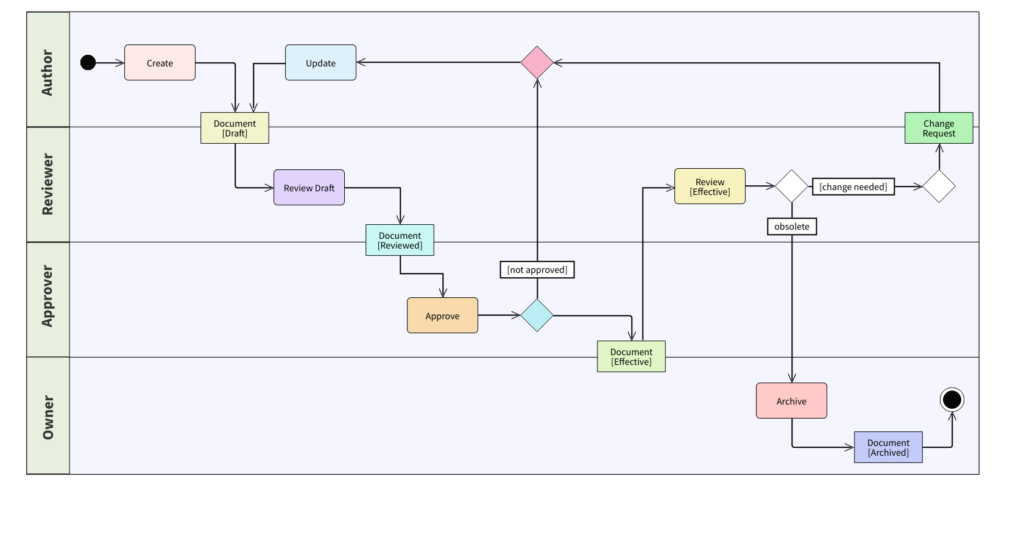
🔁 Step 3: Create Workflow States
Define different stages:
✔ Pending
✔ Under Review
✔ Approved
✔ Rejected
👉 Helps track progress.
🧑💻 Step 4: Implement Logic (Custom Development)
You can create workflows using:
✔ Custom post statuses
✔ User meta fields
✔ Hooks & filters
Examples:
✔ Change status after approval
✔ Trigger action on submission
✔ Restrict actions based on role
👉 Requires developer skills.
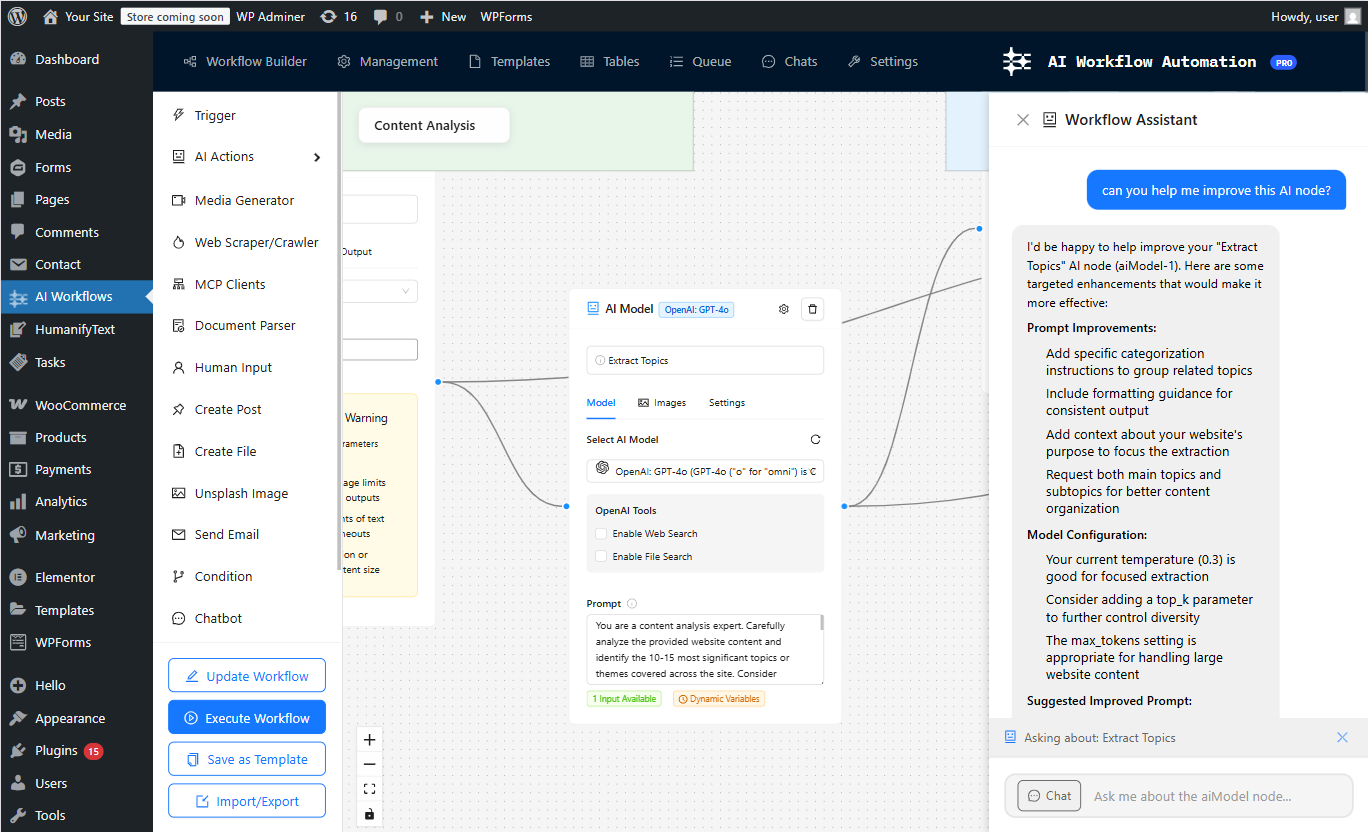
🔌 Step 5: Use Plugins (No Code Option)
Popular workflow plugins:
✔ PublishPress
✔ WP ERP
✔ FluentCRM
Features:
✔ Visual workflows
✔ Role-based access
✔ Automation
👉 Best for non-developers.
📩 Step 6: Automate Notifications
Keep users informed:
✔ Email alerts
✔ Admin notifications
✔ Status updates
Example:
✔ “Your request is approved”
👉 Improves communication.
📊 Step 7: Add Dashboard Insights
Provide visibility:
✔ Pending tasks
✔ Completed tasks
✔ Performance metrics
👉 Helps admins manage workflows.
🔐 Step 8: Ensure Security
Secure your workflow:
✔ Validate inputs
✔ Restrict access
✔ Log actions
✔ Backup data
👉 Protects system integrity.
🚀 Step 9: Optimize Performance
Workflows can increase load.
Optimize:
✔ Database queries
✔ Background processing
✔ Caching
👉 Keeps system fast.
📈 Step 10: Test & Improve
Test workflows regularly:
✔ Check edge cases
✔ Improve logic
✔ Gather feedback
👉 Continuous improvement is key.
📊 Real Example Workflow
A vendor approval workflow:
- Vendor registers
- Uploads documents
- Admin reviews
- Vendor approved
👉 Structured and efficient.
🚨 Common Mistakes to Avoid
❌ No clear workflow
❌ Too complex process
❌ No notifications
❌ Poor role management
❌ Ignoring performance
👉 Keep it simple and effective.
📌 Workflow Checklist
✔ Define process
✔ Create roles
✔ Set statuses
✔ Automate actions
✔ Add notifications
✔ Test system
👉 Follow this step-by-step.
📚 Internal Links

Hire Me on Upwork – Dokan & WooCommerce Expert
