

Managing orders efficiently is crucial for any online store. By default, WooCommerce provides basic order statuses like Pending, Processing, Completed, and Cancelled.
But in real-world businesses, especially in logistics-heavy or multi-step workflows, these statuses are often not enough.
That’s where custom order status development comes in.
In this guide, you’ll learn how to create and manage custom order statuses in WooCommerce.
🔴 Why Custom Order Status is Important
Default statuses are limited and may not reflect your actual workflow.
Without customization:
❌ Poor order tracking
❌ Confusing workflow
❌ Inefficient operations
With custom statuses:
✔ Better order visibility
✔ Improved workflow management
✔ Clear communication
✔ Enhanced automation
👉 Custom statuses = better control over orders
🧠 When You Need Custom Order Status
You should create custom statuses when:
✔ You have multi-step fulfillment
✔ You manage delivery/logistics
✔ You offer services or bookings
✔ You run a marketplace
Examples:
- “Packed”
- “Out for Delivery”
- “Awaiting Approval”
- “Ready for Pickup”
👉 Tailor statuses to your business.
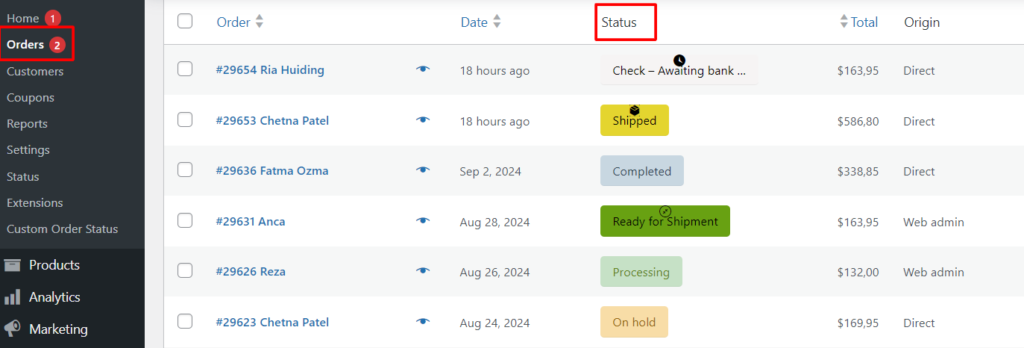
⚙️ Default WooCommerce Order Flow
WooCommerce includes:
✔ Pending Payment
✔ Processing
✔ On Hold
✔ Completed
✔ Cancelled
✔ Refunded
👉 But real workflows need more flexibility.
🏗️ Example Custom Workflow
A typical advanced workflow:
- Order Placed
- Payment Confirmed
- Processing
- Packed
- Shipped
- Out for Delivery
- Delivered
👉 This improves tracking for both admin and customers.
🧑💻 How to Add Custom Order Status (Code Method)
You can add custom statuses using custom code in your theme or plugin.
Steps:
✔ Register new order status
✔ Add it to WooCommerce status list
✔ Display in admin panel
✔ Assign it to orders
Example use cases:
✔ Add “Shipped” status
✔ Add “Ready for Pickup”
✔ Add “Verification Pending”
👉 Requires developer knowledge.
🔌 Using Plugins (No Code Method)
If you don’t want to code, use plugins.
Popular options:
✔ Custom Order Status Manager
✔ WooCommerce Order Status Control
Features:
✔ Create statuses easily
✔ Add icons & colors
✔ Manage transitions
👉 Best for beginners.
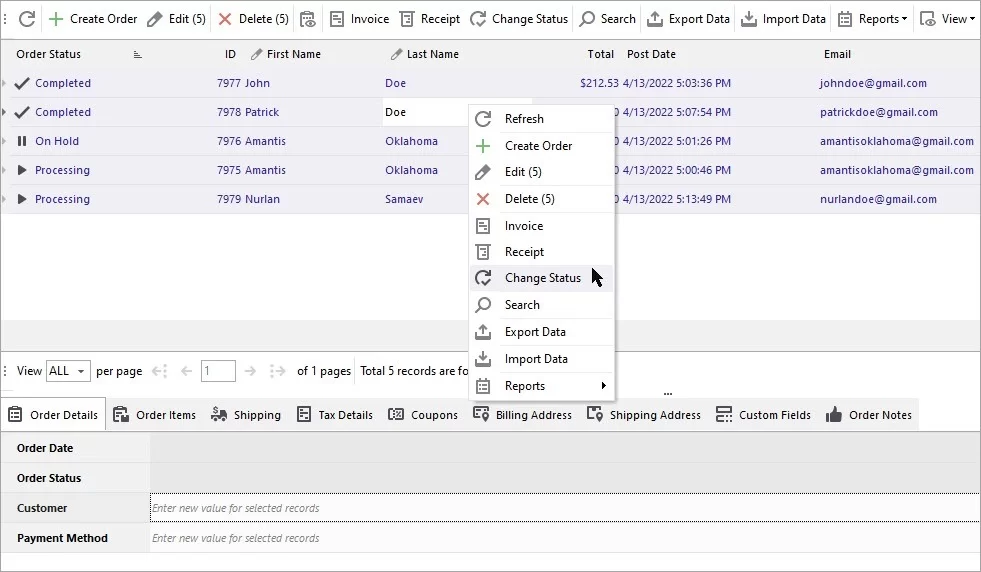
🔁 Automate Status Changes
Automation saves time.
Examples:
✔ Auto change to “Processing” after payment
✔ Auto change to “Completed” after delivery
✔ Auto trigger based on shipping updates
👉 Reduces manual work.
📩 Send Notifications Based on Status
Notify users when status changes:
✔ Email notifications
✔ SMS alerts
✔ WhatsApp updates
Examples:
✔ “Your order is shipped”
✔ “Out for delivery”
👉 Improves customer experience.
📊 Use Status for Reporting
Custom statuses help with analytics:
✔ Track delivery stages
✔ Monitor delays
✔ Analyze workflow
👉 Better business insights.
🔐 Best Practices
✔ Keep statuses simple
✔ Use clear naming
✔ Avoid too many statuses
✔ Align with business workflow
👉 Simplicity improves usability.
📈 Real Impact
With custom statuses:
✔ Better order tracking
✔ Faster operations
✔ Improved customer communication
✔ Higher satisfaction
👉 Small change, big impact.
🚨 Common Mistakes to Avoid
❌ Too many statuses
❌ Confusing names
❌ No automation
❌ No notifications
❌ Poor workflow planning
👉 Keep it practical.
📌 Implementation Checklist
✔ Define workflow
✔ Create statuses
✔ Add automation
✔ Enable notifications
✔ Test system
👉 Follow this step-by-step.
📚 Internal Links

Hire Me on Upwork – Dokan & WooCommerce Expert
