



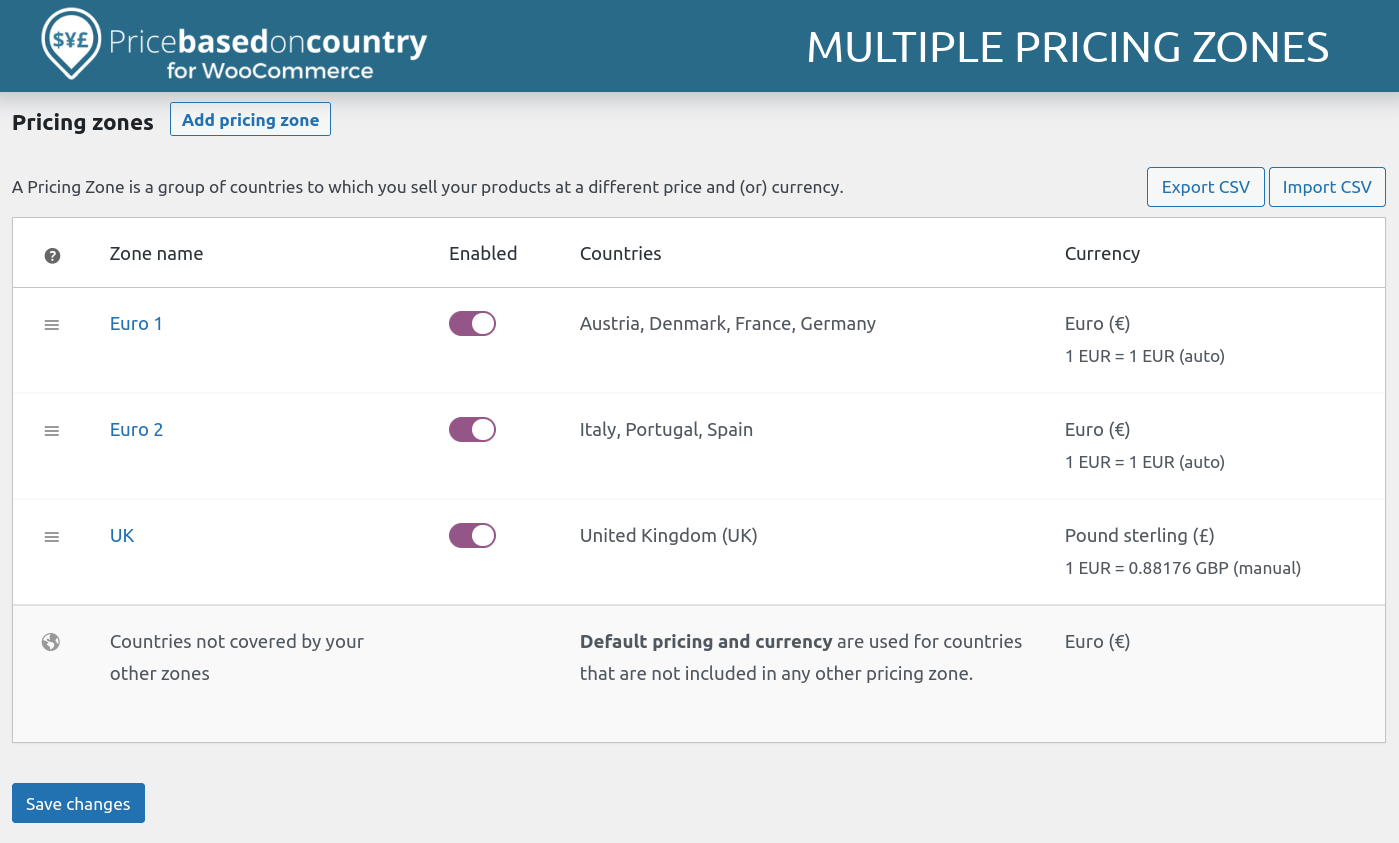
Selling globally requires more than just shipping products — you need to support multiple currencies so customers can shop comfortably in their local currency.
If you’re running a store using WooCommerce on WordPress, adding multi-currency functionality can significantly improve user experience and conversions.
In this guide, you’ll learn how to set up WooCommerce multi-currency step-by-step.
🔴 What is WooCommerce Multi-Currency?
Multi-currency allows your store to:
✔ Display prices in different currencies
✔ Automatically convert prices
✔ Accept international payments
✔ Improve global shopping experience
👉 Example:
- USA → $ (USD)
- India → ₹ (INR)
- Europe → € (EUR)
🧠 Why Multi-Currency is Important
Without multi-currency:
❌ Confusing pricing
❌ Lower trust
❌ Reduced conversions
With multi-currency:
✔ Better user experience
✔ Higher sales
✔ Global reach
✔ Customer trust
👉 Customers prefer local currency pricing
⚙️ How Multi-Currency Works
The system:
✔ Converts base currency
✔ Uses exchange rates
✔ Displays local price
✔ Processes payment
👉 All happens automatically.
🧑💻 Step 1: Choose a Multi-Currency Plugin
WooCommerce doesn’t support multi-currency by default.
Popular plugins:
✔ WOOCS – Currency Switcher
✔ Aelia Currency Switcher
✔ WooCommerce Payments (built-in support)
👉 Choose based on features and compatibility.
🌐 Step 2: Set Base Currency
Go to WooCommerce settings:
✔ Set default currency (e.g., USD or INR)
👉 All conversions depend on this.
🔄 Step 3: Add Currency Switcher
Allow users to switch currency:
✔ Dropdown in header
✔ Sidebar widget
✔ Auto-detect location
👉 Improves user control.
📊 Step 4: Configure Exchange Rates
Options:
✔ Manual rates
✔ Auto-update via API
Most plugins allow:
✔ Real-time updates
✔ Scheduled updates
👉 Keep prices accurate.
💳 Step 5: Payment Gateway Setup
Ensure gateways support multi-currency:
✔ Stripe → excellent support
✔ PayPal → global support
👉 Critical for smooth checkout.
📦 Step 6: Display Pricing Properly
Best practices:
✔ Show correct currency symbol
✔ Avoid rounding confusion
✔ Keep consistent formatting
👉 Builds trust.
🌍 Step 7: Geo-Based Currency Detection
Automatically show currency based on user location.
✔ Detect IP/location
✔ Display local currency
👉 Improves experience.
🔐 Step 8: Taxes & Shipping Handling
Currency affects:
✔ Tax calculations
✔ Shipping costs
Ensure:
✔ Accurate conversions
✔ Consistent pricing
👉 Avoid mismatches.
⚡ Step 9: Performance Optimization
Currency conversion adds load.
Optimize:
✔ Cache converted prices
✔ Use fast APIs
✔ Reduce calculations
👉 Keeps site fast.
📱 🔟 Mobile Optimization
Ensure:
✔ Mobile-friendly currency switcher
✔ Fast updates
✔ Smooth UX
👉 Mobile users are majority.
📈 Real Example Setup
A global WooCommerce store:
✔ Base currency: USD
✔ Auto conversion enabled
✔ Currency switcher in header
✔ Stripe for payments
👉 Supports worldwide customers.
🚨 Common Mistakes to Avoid
❌ Not updating exchange rates
❌ Confusing price display
❌ Unsupported payment gateways
❌ Ignoring tax differences
❌ Slow performance
👉 These reduce conversions.
📌 Multi-Currency Checklist
✔ Install plugin
✔ Set base currency
✔ Add switcher
✔ Configure rates
✔ Test payment gateways
✔ Optimize performance
👉 Follow this for success.
📚 Internal Links

Hire Me on Upwork – Dokan & WooCommerce Expert

 Chat on WhatsApp