

Modern marketplaces demand speed, flexibility, and seamless user experience. Traditional WordPress themes sometimes struggle to deliver ultra-fast and app-like experiences.
That’s where headless architecture comes in.
By combining WordPress + WooCommerce + Dokan with a React frontend, you can build a high-performance headless marketplace.
In this guide, you’ll learn how to build a headless Dokan marketplace using React.
🔴 What is a Headless Marketplace?
A headless marketplace separates:
✔ Backend (WordPress + WooCommerce + Dokan)
✔ Frontend (React app)
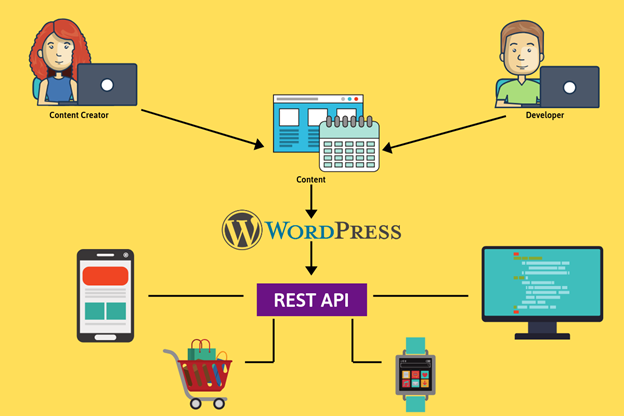
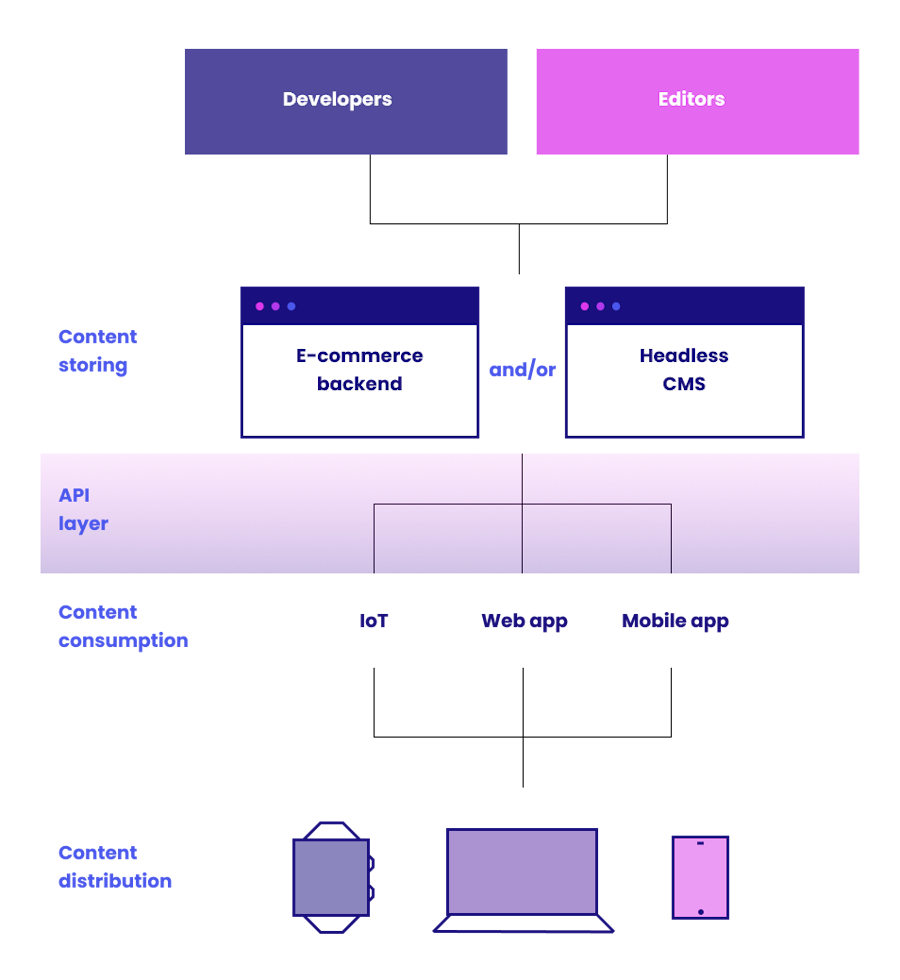
Instead of rendering pages with WordPress themes, the frontend communicates with backend via APIs.
👉 Backend = data & logic
👉 Frontend = UI & experience
🧠 Why Go Headless?
Headless architecture offers:
✔ Lightning-fast performance
✔ App-like experience
✔ Full frontend control
✔ Better scalability
✔ Easy mobile app integration
👉 Ideal for large and modern marketplaces
⚙️ Architecture Overview
A headless Dokan setup includes:
Backend:
- WordPress
- WooCommerce
- Dokan
Frontend:
- React
Communication:
- REST API / GraphQL
👉 APIs connect frontend and backend.
🏗️ Step 1: Set Up Backend (WordPress + Dokan)
Install and configure:
✔ WordPress
✔ WooCommerce
✔ Dokan
Setup includes:
✔ Products
✔ Vendors
✔ Orders
✔ Payments
👉 Backend acts as data engine
🌐 Step 2: Enable API Access
Use:
✔ WordPress REST API
✔ WooCommerce REST API
Optional:
✔ GraphQL (via WPGraphQL)
👉 APIs expose data to React frontend.
⚛️ Step 3: Build React Frontend
Create frontend using React.
Features to build:
✔ Homepage
✔ Product listing
✔ Product detail page
✔ Cart & checkout
✔ Vendor store pages
👉 Full control over UI/UX.
🔐 Step 4: Authentication System
Handle user login:
✔ JWT authentication
✔ OAuth
Features:
✔ User login/signup
✔ Vendor login
✔ Secure sessions
👉 Essential for marketplace functionality.
🛒 Step 5: Integrate Cart & Checkout
Use WooCommerce API:
✔ Add to cart
✔ Update cart
✔ Checkout process
👉 Requires careful handling of sessions.
🏪 Step 6: Vendor Dashboard (Advanced)
Create custom vendor panel in React:
✔ Product management
✔ Order tracking
✔ Earnings dashboard
👉 Improves vendor experience.
⚡ Step 7: Performance Optimization
Headless apps are fast, but optimize further:
✔ API caching
✔ Lazy loading
✔ Code splitting
✔ CDN
👉 Ensures lightning speed.
📱 Step 8: Mobile App Integration
Headless architecture allows:
✔ Same API for mobile apps
✔ React Native apps
✔ Progressive Web Apps (PWA)
👉 Multi-platform flexibility.
🔄 Step 9: Sync & Data Handling
Ensure:
✔ Real-time updates
✔ Proper API handling
✔ Error management
👉 Avoid data mismatch issues.
🚀 🔟 Deployment Strategy
Deploy separately:
✔ Backend → Server (WordPress hosting)
✔ Frontend → Vercel / Netlify
👉 Independent scaling.
📈 Benefits of Headless Dokan Marketplace
✔ Ultra-fast loading
✔ Better UX
✔ Scalable architecture
✔ Flexible frontend design
✔ Easy integrations
👉 Future-ready solution.
🚨 Challenges to Consider
❌ Complex development
❌ API limitations
❌ Authentication handling
❌ Higher development cost
👉 Requires experienced developers.
📌 Headless Setup Checklist
✔ Backend setup
✔ API integration
✔ React frontend
✔ Authentication
✔ Cart & checkout
✔ Deployment
👉 Follow this roadmap.
📚 Internal Links

Hire Me on Upwork – Dokan & WooCommerce Expert

 Chat on WhatsApp