

Emails are one of the most important communication channels in any marketplace. Whether it’s order confirmations, vendor notifications, or dispute updates — emails directly impact user experience and brand trust.
If you’re using Dokan with WooCommerce and WordPress, customizing email templates is essential to create a professional and branded marketplace.
In this guide, you’ll learn how to customize Dokan email templates step-by-step.
🔴 Why Customize Email Templates?
Default emails are basic and generic.
Without customization:
❌ Poor branding
❌ Low trust
❌ Confusing communication
With custom templates:
✔ Professional look
✔ Clear messaging
✔ Strong branding
✔ Better user experience
👉 Emails = customer communication + branding tool
🧠 Types of Dokan Emails
Dokan sends different types of emails:
🛒 Order Emails
✔ Order confirmation
✔ Order status updates
🏪 Vendor Emails
✔ New vendor registration
✔ Vendor approval/rejection
💰 Payment Emails
✔ Commission updates
✔ Withdrawal requests
⚠️ Marketplace Emails
✔ Disputes
✔ Notifications
👉 Each email should be optimized.
⚙️ How Dokan Email System Works
Dokan emails are built on top of WooCommerce email system.
👉 That means:
✔ Templates are PHP-based
✔ Can be overridden in theme
✔ Hooks & filters available
🧑💻 Method 1: Customize via Theme (Advanced)
You can override email templates:
Steps:
- Copy template from plugin
- Paste into theme folder
- Edit HTML/PHP
Example path:
Customize:
✔ Layout
✔ Text
✔ Branding
✔ Dynamic data
👉 Best for developers.
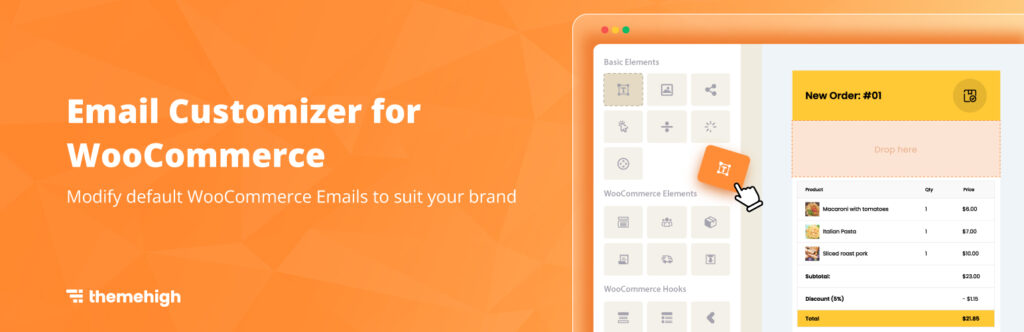
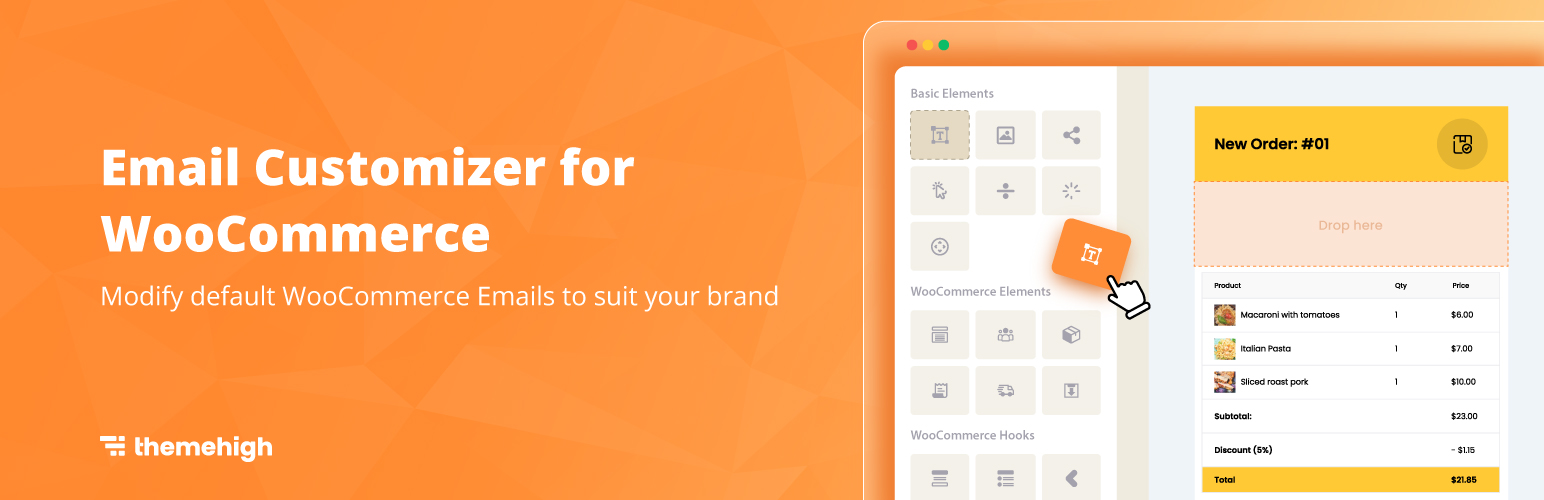
🔌 Method 2: Use Email Customizer Plugins
If you don’t want to code:
Popular plugins:
✔ WooCommerce Email Customizer
✔ Kadence Email Designer
Features:
✔ Drag & drop builder
✔ Live preview
✔ Branding customization
👉 Best for beginners.
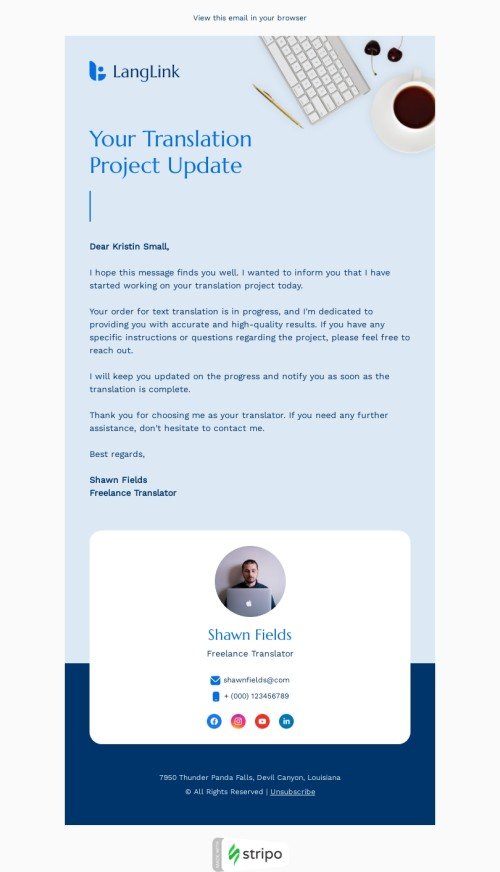
🎨 Step 3: Add Branding
Customize emails with:
✔ Logo
✔ Brand colors
✔ Typography
✔ Footer content
👉 Keeps your marketplace consistent.
✍️ Step 4: Improve Email Content
Write clear and helpful content:
✔ Personalized messages
✔ Clear order details
✔ Call-to-action buttons
Example:
✔ “Track your order”
✔ “View dashboard”
👉 Improves engagement.
🔔 Step 5: Add Smart Notifications
Enhance emails with:
✔ Order updates
✔ Vendor alerts
✔ Payment confirmations
👉 Keeps users informed.
📊 Step 6: Use Dynamic Data
Include:
✔ Customer name
✔ Order details
✔ Product info
✔ Vendor details
👉 Makes emails personalized.
📱 Step 7: Mobile-Friendly Emails
Ensure:
✔ Responsive design
✔ Readable text
✔ Proper spacing
👉 Most users check emails on mobile.
🔐 Step 8: Security & Best Practices
✔ Avoid sensitive data in emails
✔ Use secure links
✔ Validate email triggers
👉 Protect users.
🚀 Step 9: Test Emails
Before going live:
✔ Send test emails
✔ Check layout on devices
✔ Verify links
👉 Avoid mistakes.
📈 Real Impact of Custom Emails
After customization:
✔ Better brand image
✔ Higher customer trust
✔ Improved communication
✔ Increased engagement
👉 Emails directly impact conversions.
🚨 Common Mistakes to Avoid
❌ Overdesigning emails
❌ Missing important details
❌ Poor mobile design
❌ No testing
❌ Generic messaging
👉 Keep it simple and clear.
📌 Email Customization Checklist
✔ Customize templates
✔ Add branding
✔ Improve content
✔ Use dynamic data
✔ Test emails
👉 Follow this step-by-step.
📚 Internal Links

Hire Me on Upwork – Dokan & WooCommerce Expert
